Locations
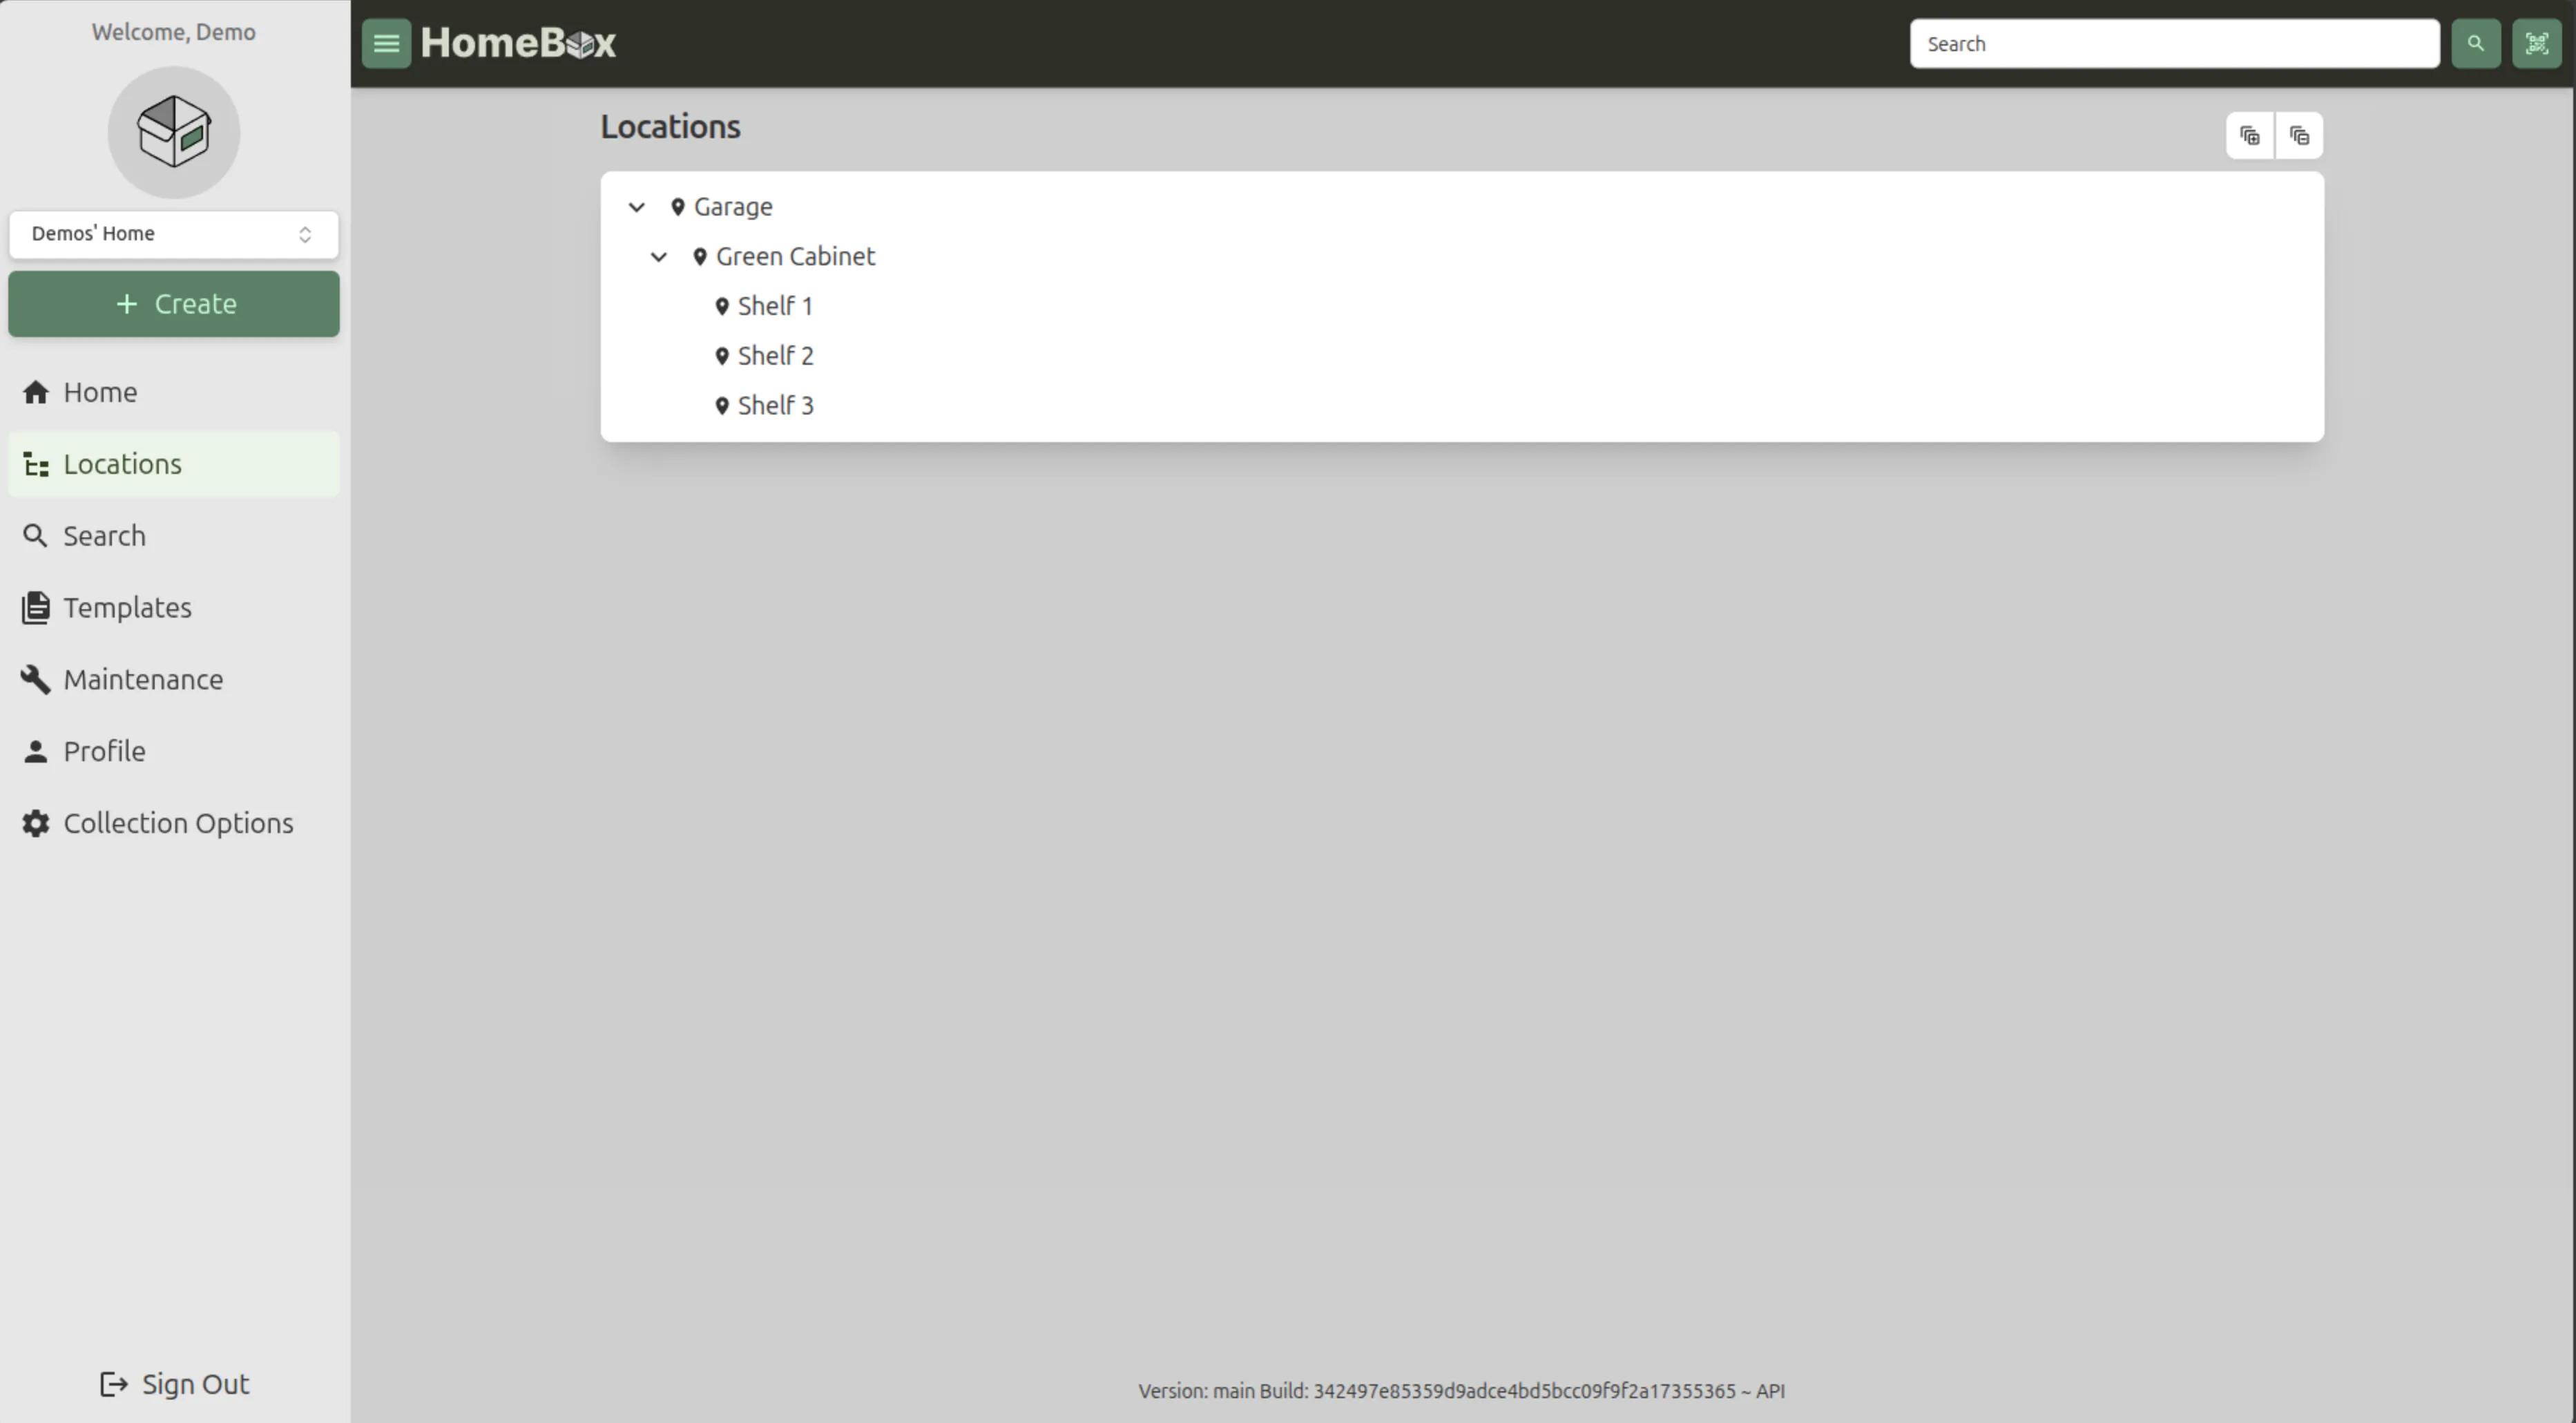
Locations form the basis for organizing your entities within Homebox. They represent the physical or logical places where your items are stored, such as rooms in a house, shelves in a warehouse, or categories in a collection. By defining locations, you can manage and track where each item is kept. Importantly, locations can be nested within each other, allowing for a hierarchical structure that reflects real-world storage systems.
Locations are entities with a location-type entity type. This means they share all the capabilities of items — photos, tags, custom fields, attachments, notes, and asset IDs — while also acting as containers that can hold other entities.
Working with Locations
Section titled “Working with Locations”Adding a Location
Section titled “Adding a Location”To add a new location in Homebox, follow these steps:
- Click on the “Create” button in the upper left corner of the dashboard.
- Select “Location” from the dropdown menu that appears.
- Fill in the required details for the new location, such as its name and description.
- If you want to nest this location within an existing one, select the parent location from the “Parent Location” dropdown.
- Optionally upload photos of the location.
- Click “Show more” to access additional fields like tags and notes.
- Click “Create” to create the location, or “Create and Add Another” to create the location and immediately start adding another one.
Editing a Location
Section titled “Editing a Location”Locations now have a full edit page with the same capabilities as items:
- Navigate to the location you want to edit in the Locations tree.
- Click on the location to open its details page.
- Click the “Edit” button to open the edit page.
- Edit the location’s name, description, notes, tags, custom fields, and attachments.
- Enable “Advanced” mode to access custom fields.
- Click “Save” to save your changes. You can also use Ctrl+S (or Cmd+S on Mac) to save.
Deleting a Location
Section titled “Deleting a Location”To delete a location, follow these steps:
- Navigate to the location you want to delete in the Locations tree.
- Click on the location to open its details page.
- Click the “Delete” button and confirm the deletion when prompted.
Location Detail Page
Section titled “Location Detail Page”The location detail page displays:
- Photo gallery — Any photos uploaded to the location, displayed as a clickable grid
- Header — Name, parent breadcrumb, total value of contained items, creation date, and tags
- Description — Rendered as markdown
- Notes and custom fields — Additional details in a collapsible section
- Attachments — Non-photo files (documents, manuals, etc.)
- Items — All items stored in this location
- Child locations — Sub-locations nested within this location
Location Constraints
Section titled “Location Constraints”- Locations can only have other locations as parents — you cannot place a location inside an item.
- Items can be placed inside locations, but locations cannot be placed inside items.